*This post may contain affiliate links for which I earn commissions.*
You’ll learn easy ways to hang string lights, and it’s much simpler than it looks. Once you have a few basic tools and a plan, you can get everything up in under an hour. You don’t need a big yard or complicated setup either. A few well-placed lights can instantly create that warm, welcoming glow where people want to gather.
The Tools That Make This Easy
Outdoor string lights (G40 or Edison style)
Look for shatterproof bulbs and weatherproof cords, usually 24–50 feet depending on your space.
Outdoor extension cord (rated for outdoor use)
Choose one with a grounded plug and enough length to reach your power source comfortably.
Cup hooks or screw-in hooks (metal, weather-resistant)
These are for permanent or semi-permanent setups on wood, beams, or fences.
Adhesive outdoor hooks (heavy-duty, waterproof)
Great for renters or smooth surfaces like siding or metal.
Guide wire or steel cable (optional for longer spans)
Helps support lights if you’re hanging them across open space.
Zip ties or outdoor clips
These keep the lights secure without slipping.
Step ladder (4–6 ft for most setups)
Just enough height to reach safely without overreaching.
Measuring tape
Helps you plan spacing so the lights don’t sag too much or feel uneven.
[INS


Do This First
Walk your space before you hang anything. Look for anchor points like fence posts, walls, trees, or pergola beams.
Measure the distance you want to cover so you know how much slack to leave. A slight dip between points looks relaxed and natural.
Check your power source early. It saves time to know exactly where your plug is before you start climbing up and down.
If you’re using adhesive hooks, make sure the surface is clean and dry so they actually hold.
The Quick Method
- Decide your layout
Start with a simple shape like a straight line, zig-zag, or gentle canopy. Keep it easy for your first setup. - Mark your anchor points
Use your eye or a quick measurement to space them evenly. This helps the lights hang smoothly. - Install hooks or supports
Screw hooks into wood or attach adhesive hooks firmly. If you’re spanning a wide area, run a guide wire first. - Hang the first end near the outlet
This keeps things practical and avoids running out of cord at the end. - Drape the lights across each point
Let the lights sag slightly between hooks. That soft curve is what gives it a relaxed, styled look. - Secure each section
Use zip ties or clips so the lights stay in place, especially if there’s wind. - Plug in and test before finishing
Turn them on and step back. This is where you can adjust the height or spacing if needed. - Tidy the cord and final placement
Keep extra cord tucked away neatly so the setup feels clean. Simple Upgrades
If you want to make the setup feel a little more layered, you can add a few extra pieces.
A dimmer plug lets you soften the brightness so the glow feels calmer in the evening.
A guide wire makes longer spans look smoother and more supported.
Outdoor-rated clips can give you a cleaner line than zip ties if you want a more polished finish.


Quick Fixes if Something Goes Wrong
Lights are sagging too much
Add another hook in the middle or tighten the spacing slightly.
Hooks aren’t holding
Clean the surface again or switch to screw-in hooks for a stronger hold.
Lights look uneven
Step back and adjust one section at a time instead of trying to fix everything at once.
Cord won’t reach
Add an outdoor extension cord early instead of stretching the lights too tight.
Too bright or harsh
Switch to warm bulbs or add a dimmer to soften the glow.
Easy Variations
Soft canopy look
Run multiple strands across your space so the lights feel layered overhead.
Fence line lighting
Keep lights straight along a fence for a simple, clean look.
Tree wrap style
Wrap lights around a trunk or branches for a more natural feel.
Corner glow setup
Focus lights in one seating area instead of the whole yard.
Balcony drape
Let lights hang slightly over a railing for a relaxed, cozy effect.
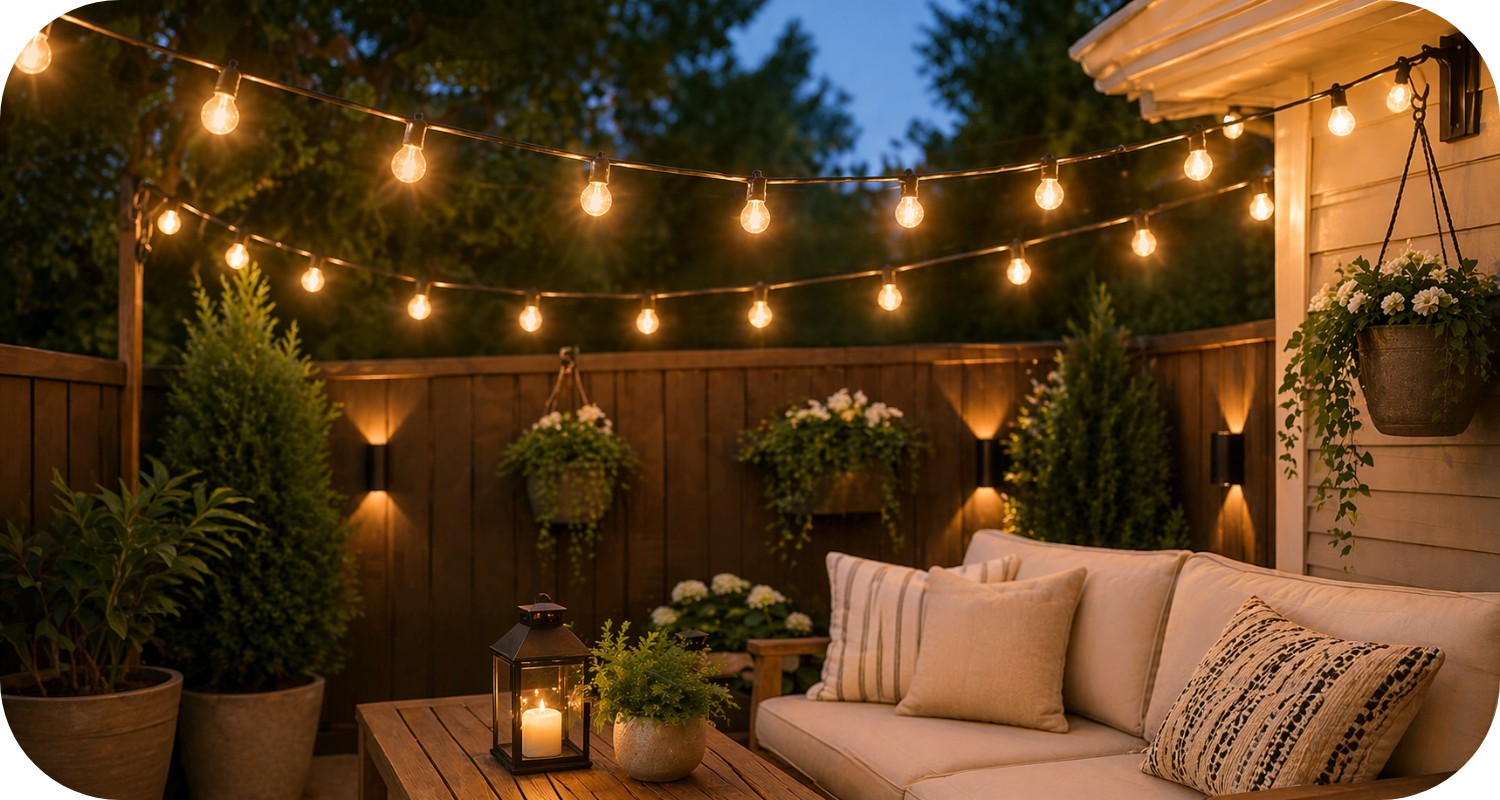
Now that you have your lights up, try turning them on just before sunset and see how the glow settles into your space. You can always shift one or two sections until it feels just right.
What kind of setup are you thinking about trying first?